# Document Table
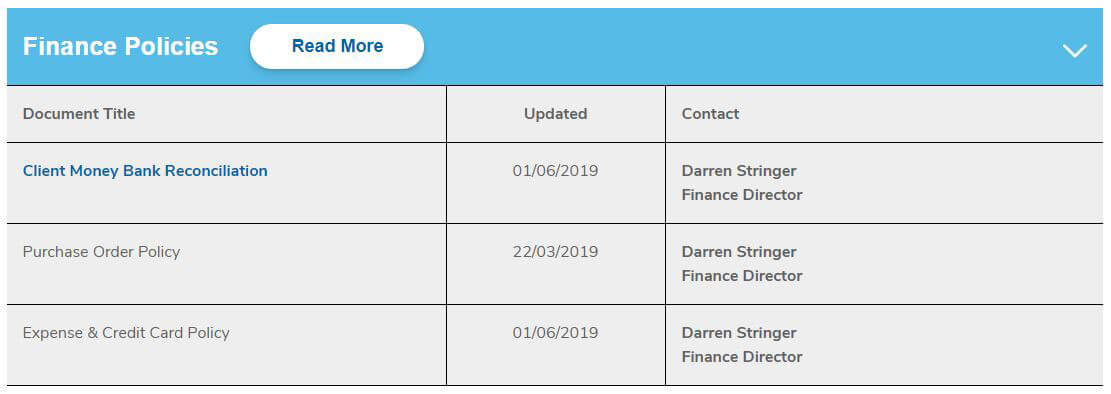
The Document Table block is used to create responsive tables that contain lists of documents used by different departments. As per the design, the Document Table block outputs a three column table as shown below:
# Adding the block to a page
To add a Document Table block:
- Add or edit a page that uses the Gutenberg editor (e.g. Page or Post)
- Click to add a Gutenberg block (more on how to add a Gutenberg block can be found here)
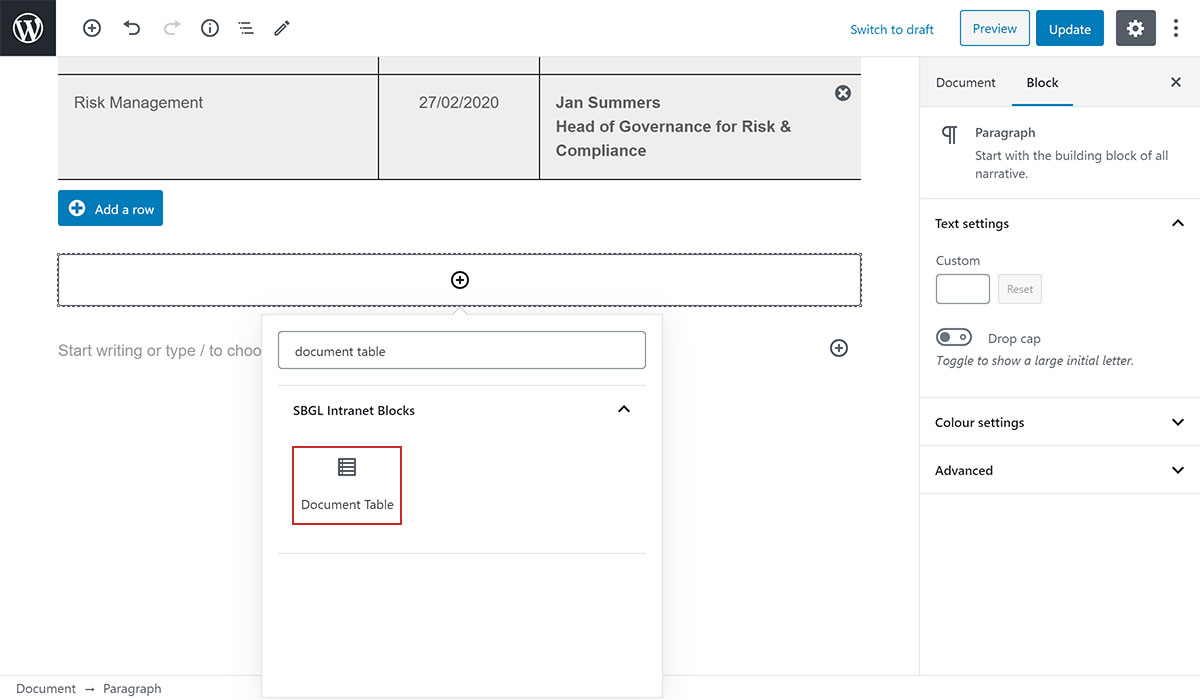
- Find the block with the name Document Table (highlighted below) and,
- Click on it to add it
# Document Table configuration options
Each Document Table comes with the following configurable options:
- Table Title
- Table Button
- Column Headings
- Adding a Row
- Removing a Row
- Formatting Text
- Adding Document Links
# Table Title
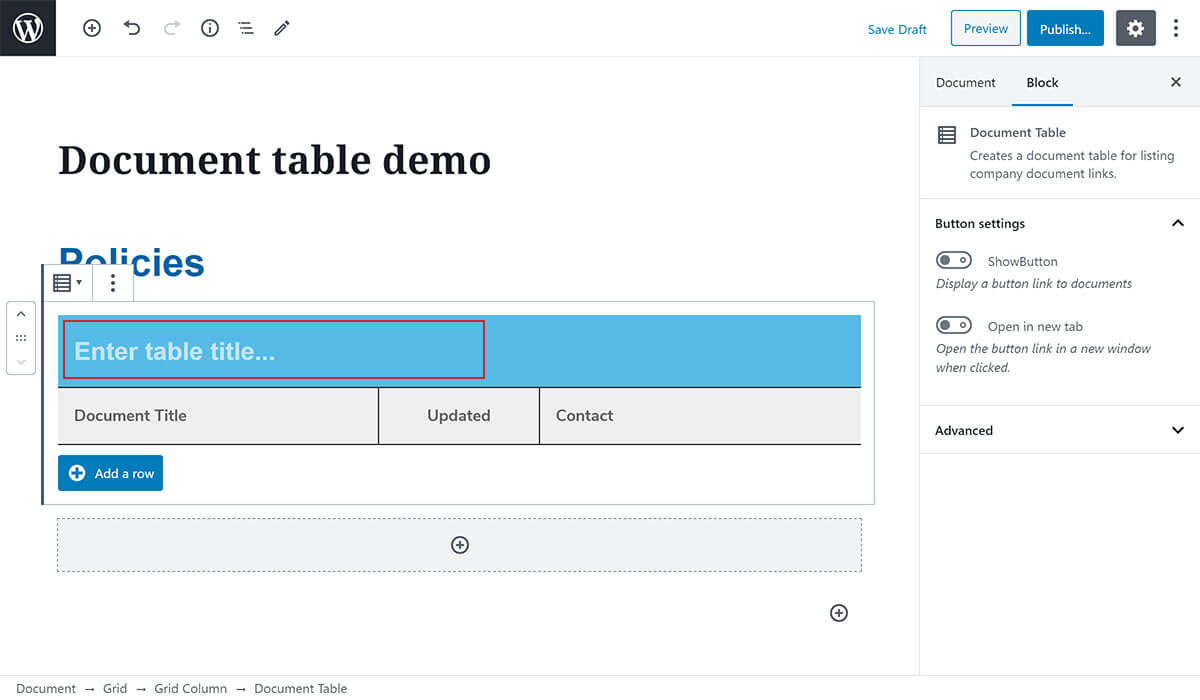
To enter a table title, click on the table title area shown below and type the title you want:

# Table Button
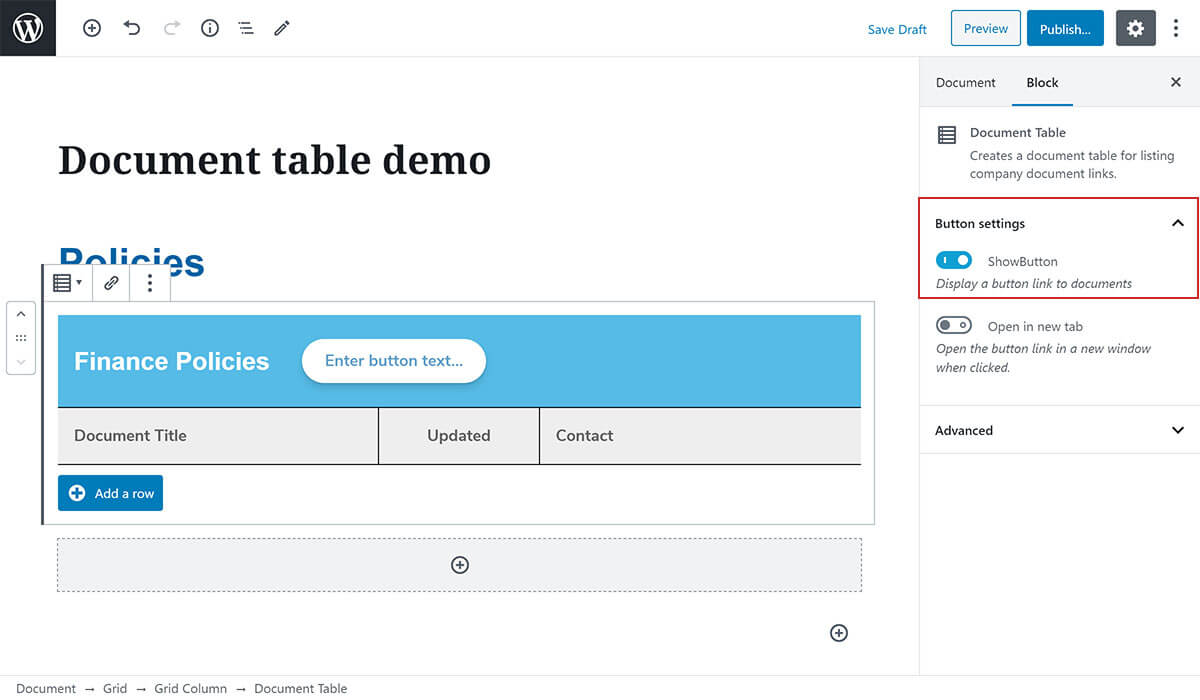
You can optionally add a single button next to your table setting. For example, this may be useful if you want to link to an external document resource where the documents shown in your table are stored.
To add the button to your table, toggle the Show Button option shown in the Button Settings panel on the right hand side when the block is selected:
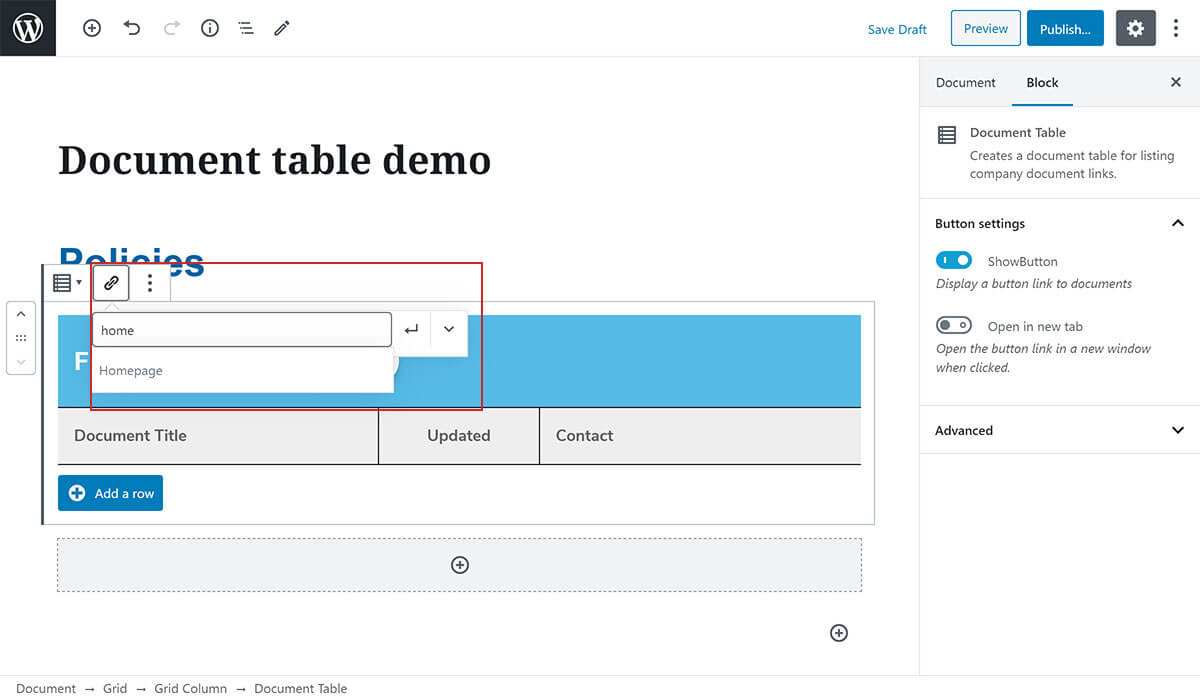
Enter the text you want for your button by typing directly into the button element shown below:

To change the link that is applied to the button, click on the link icon in the toolbar. You'll have the option to either search for an intranet page on the site or type in a url to use for the button link:
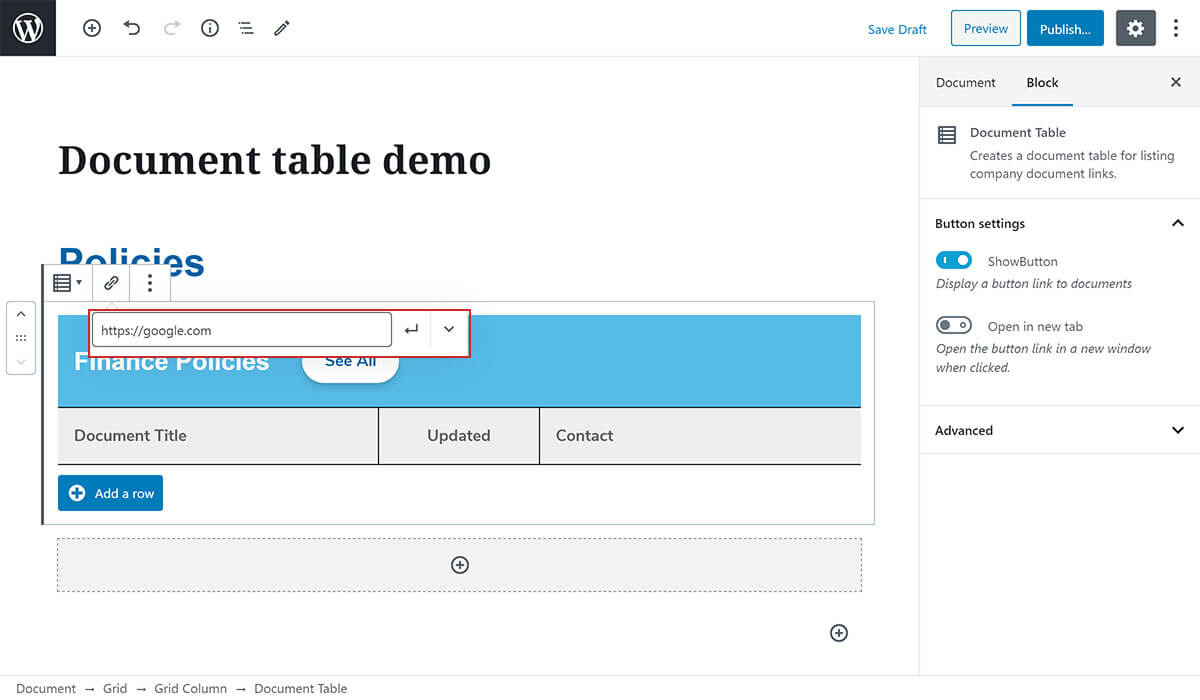
Press enter or click on the return key icon next to the link entry field to confirm the selected url for the button.
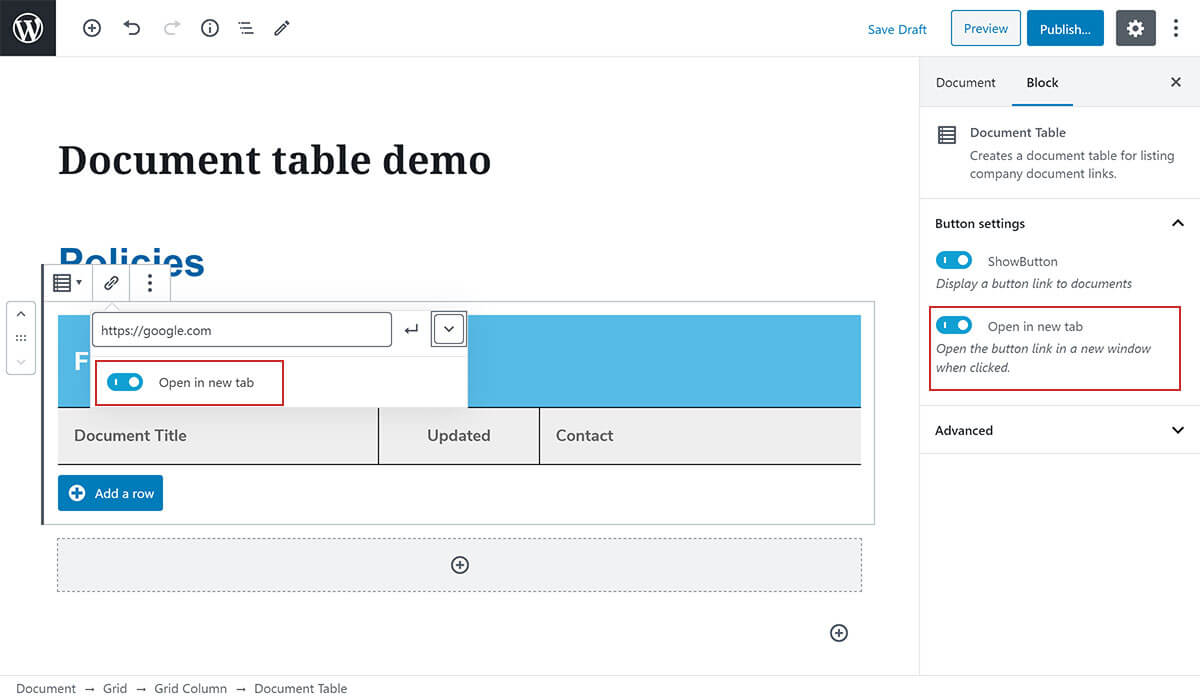
You can also choose whether or not to open the button link in a new window rather than navigating the user away from the page. This option can be set either on the right hand side in the Button Settings panel or directly in the expanded options when setting the link:
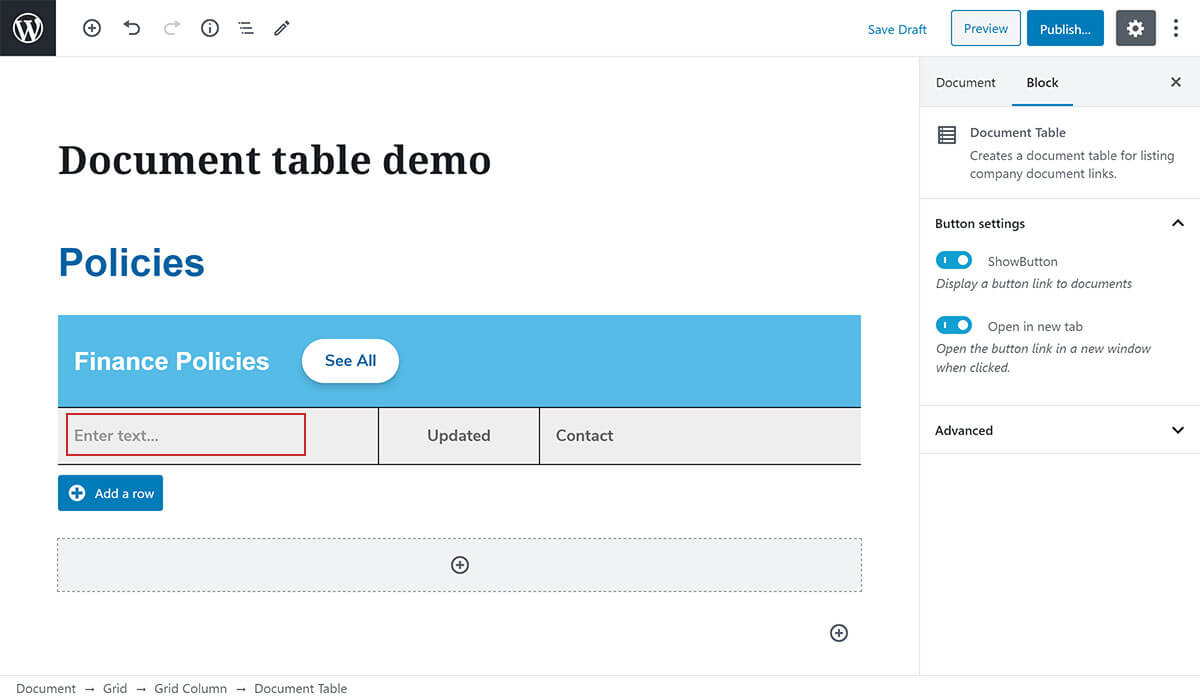
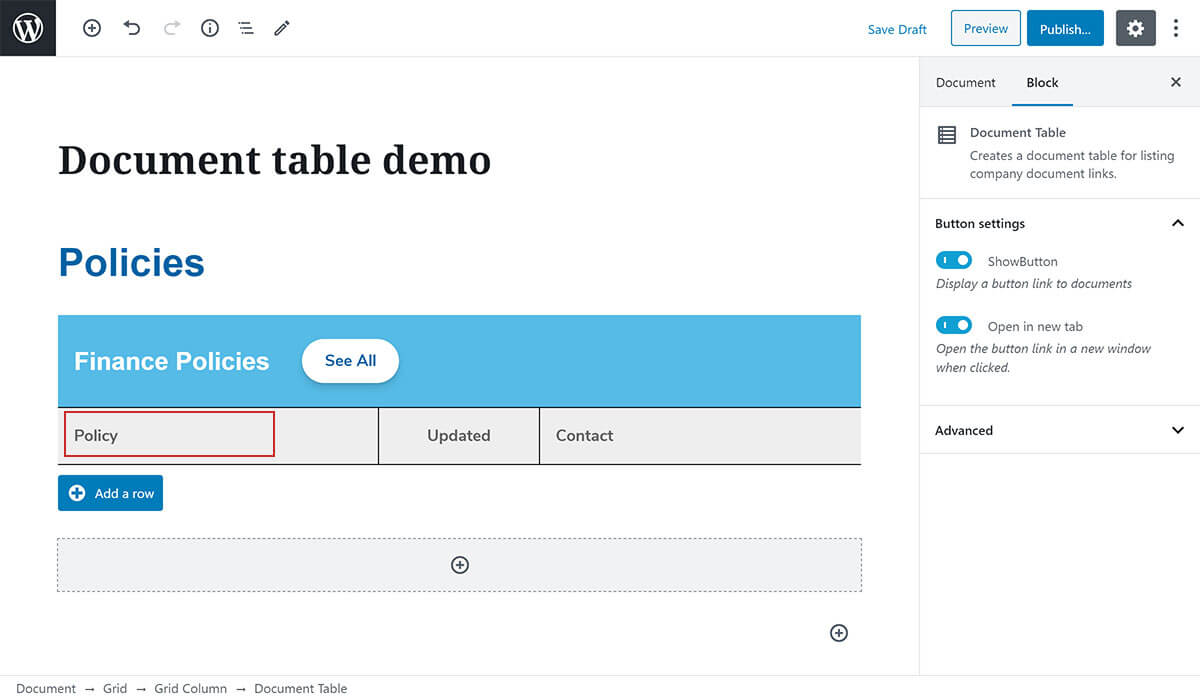
# Column Headings
By default the three column headings in the table are set to Document Title, Updated and Contact. You can change these column headings if you need to in order to better reflect the table content. For example, you may want the Document Title heading to read Policy Document instead. To do this, simply click on the column heading you want to change and type the new title you want:
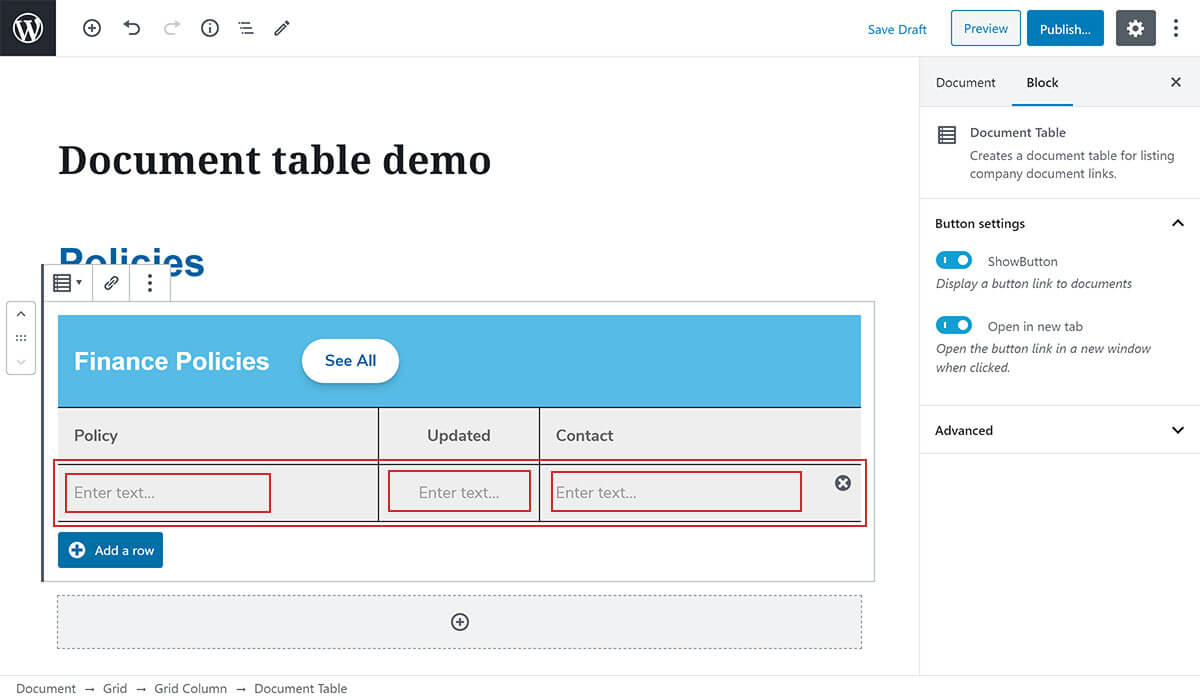
# Adding a Row
To add a row to your Document Table, click on the + Add a row button shown at the bottom of the table.

You will be able to enter text into each of the three table cells that are created when clicking + Add a row.
Once you have finished constructing your table, make sure you click the Publish, Update or Save Draft button to make sure that your changes are saved to the page.
# Removing a Row
To remove a row, simply click on the X button shown at the right hand side of the row you wish to delete from the table:

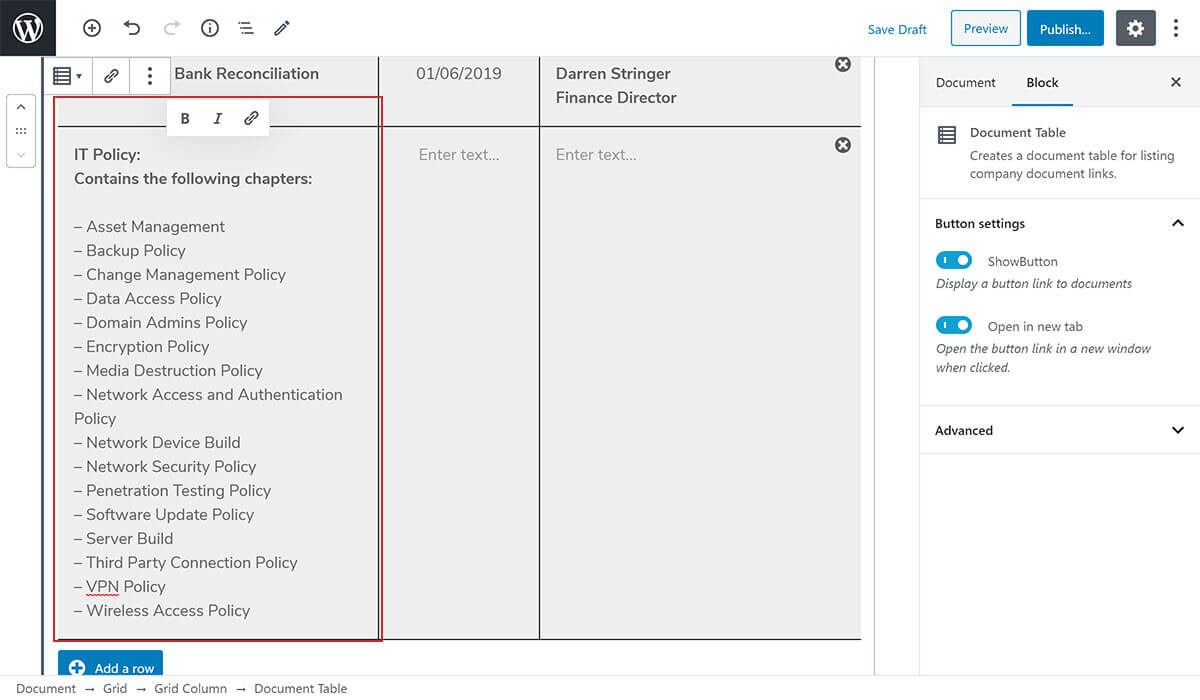
# Formatting Text
When entering text into a table cell, you'll be provided with limited text format controls above the cell that you are populating with content. This can be used to make text bold, italic or add a link to the text. These controls will not be available for the column headings as these are pre-formatted according to the design.
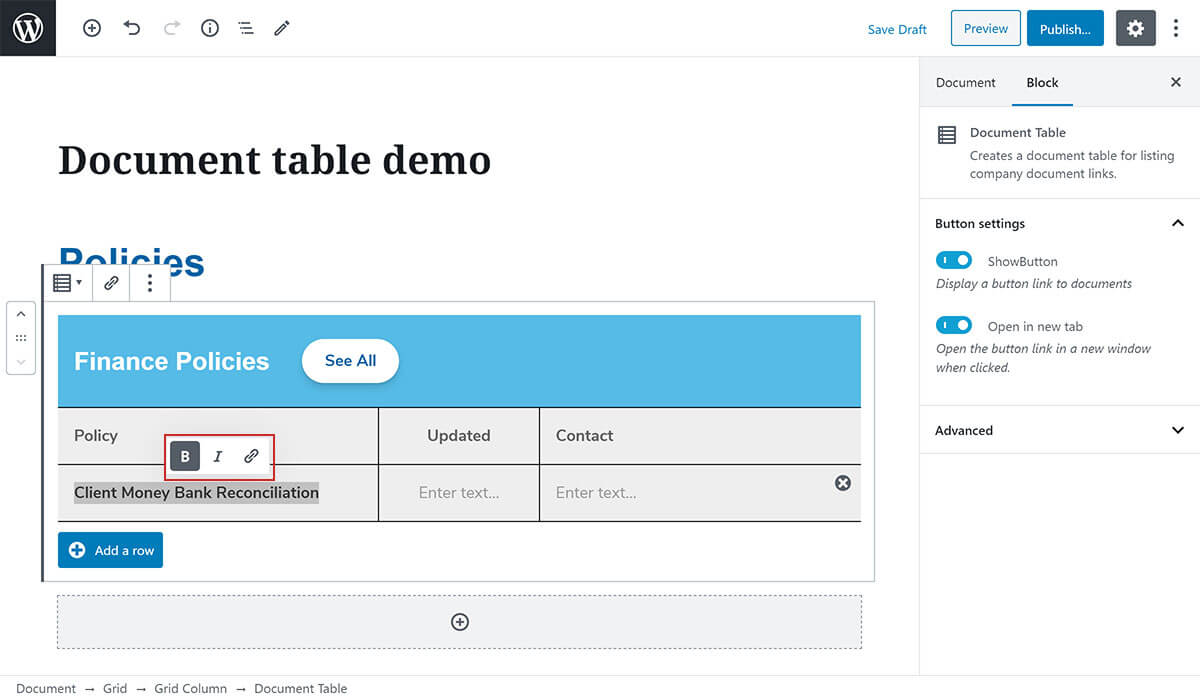
Text can cover multiple lines inside a cell allowing you to provide a good level of detail about each document in your table:
# Adding Document Links
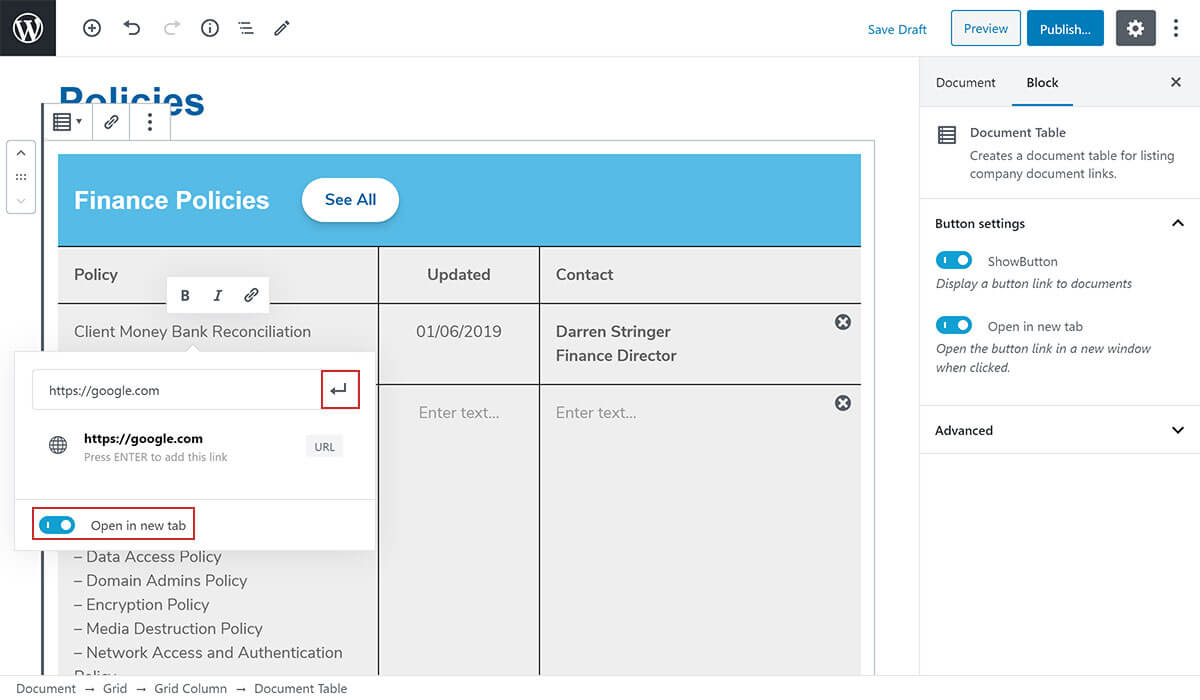
To link to a specific document in your table, highlight the text you want to convert into a link and click on the link icon shown above the table cell. This will display a link entry field where you can enter the link you want or search for a page to link to on the intranet site:
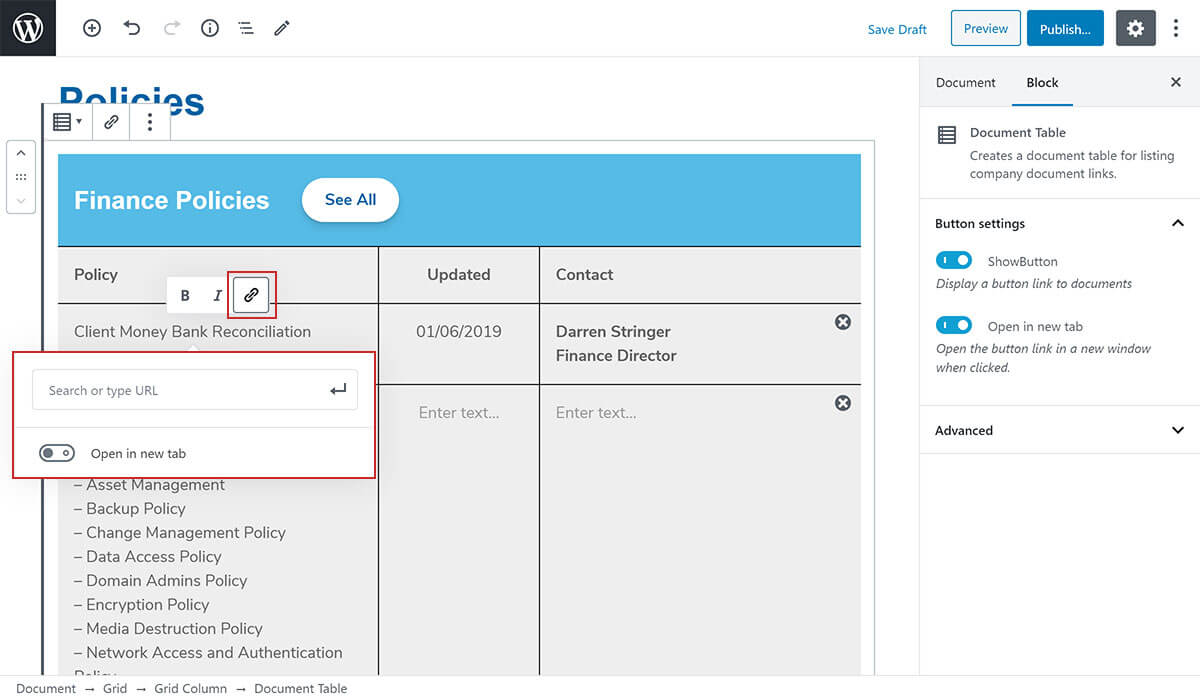
Once you have added your link, you can choose whether or not to open that link in a new window or not by toggling the corresponding toggle control. When you have finished adding your link, hit enter or hit the return key button next to the link input field: