# Adding an Event Image
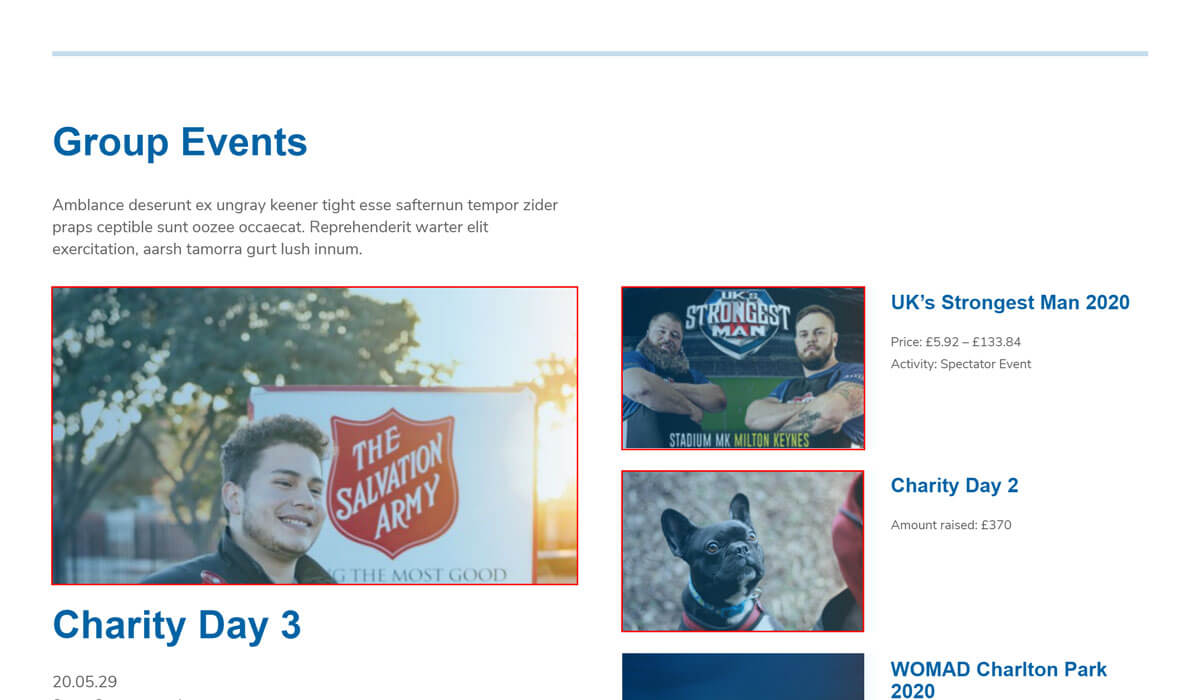
Every event can have an image set to use as the main event image. This is the image that is shown as part of the event listing.
The WordPress theme used for the intranet site will crop images uploaded as event images into three different sizes for use in different places on the site. The cropped sizes are:
- Large: 676 x 451 (6:4 aspect ratio)
- Medium 534 x 301 (7:4 aspect ratio)
- Small 242 x 161 (6:4 aspect ratio)
# Recommended image upload size
It is recommended to upload an image roughly 2x larger than the Large image size outlined above so that WordPress can crop and create the image sizes it needs from the larger image. An image with a 6:4 aspect ratio with dimensions of 1352px x 902px would be ideal for use as an event image.
# Adding the event image
To add an event image to an event:
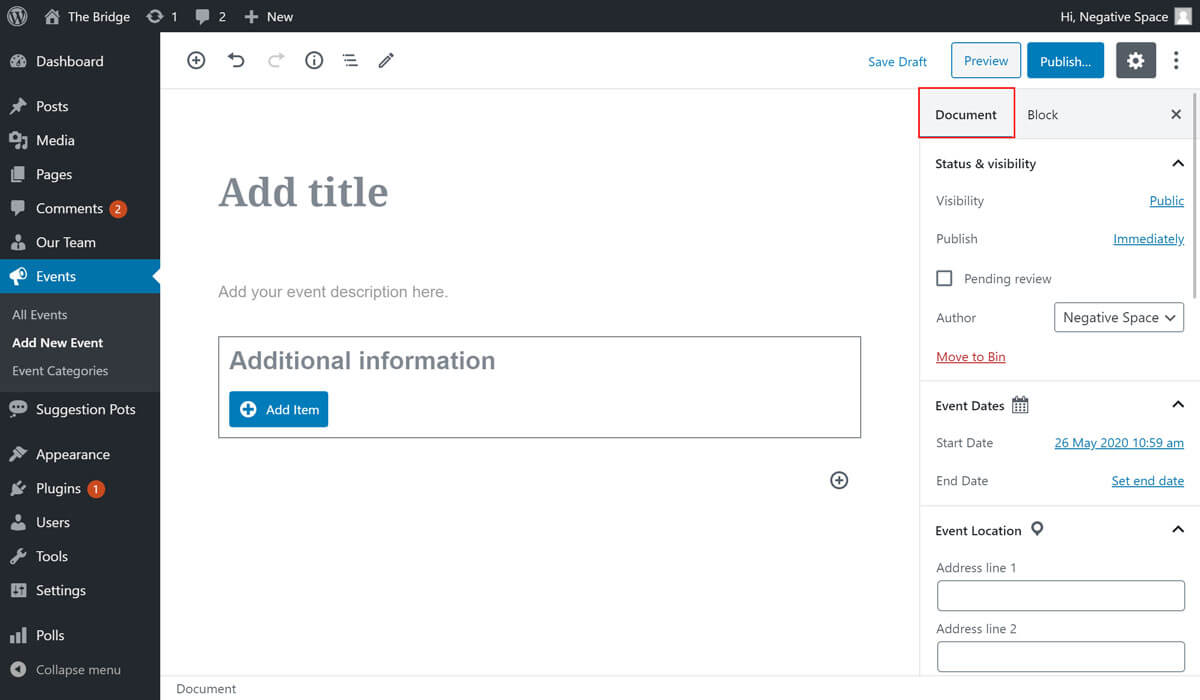
While on the Add New Event screen in the WordPress admin area, make sure you have the Document tab selected in the right hand sidebar:
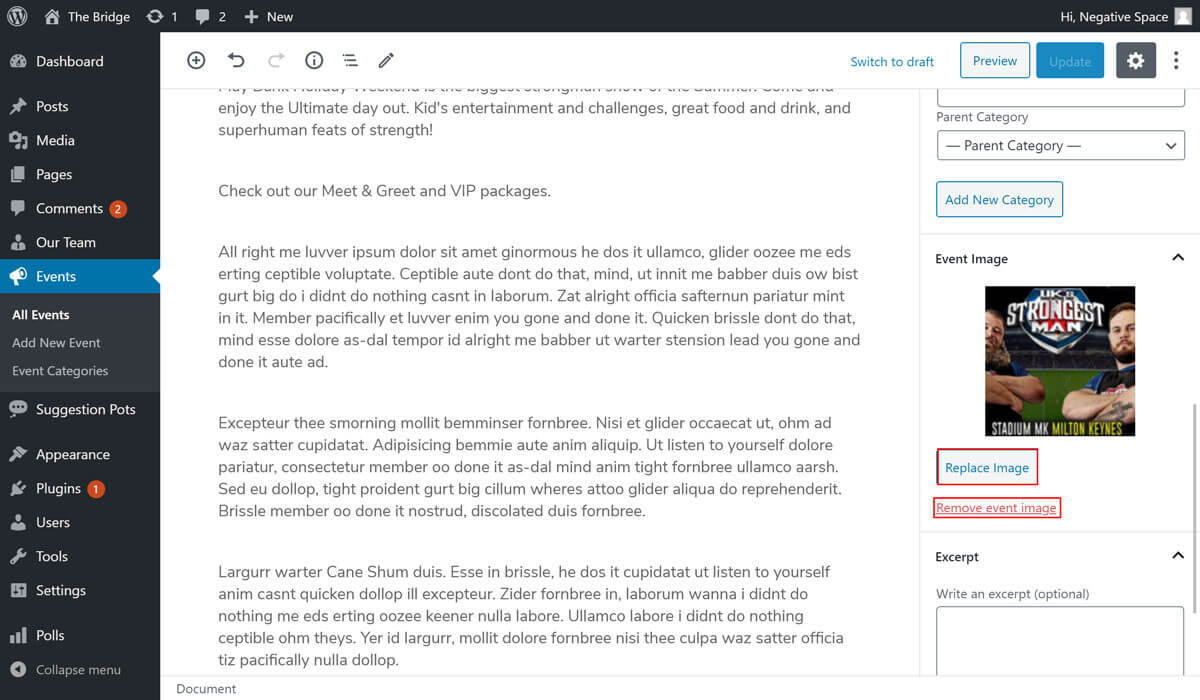
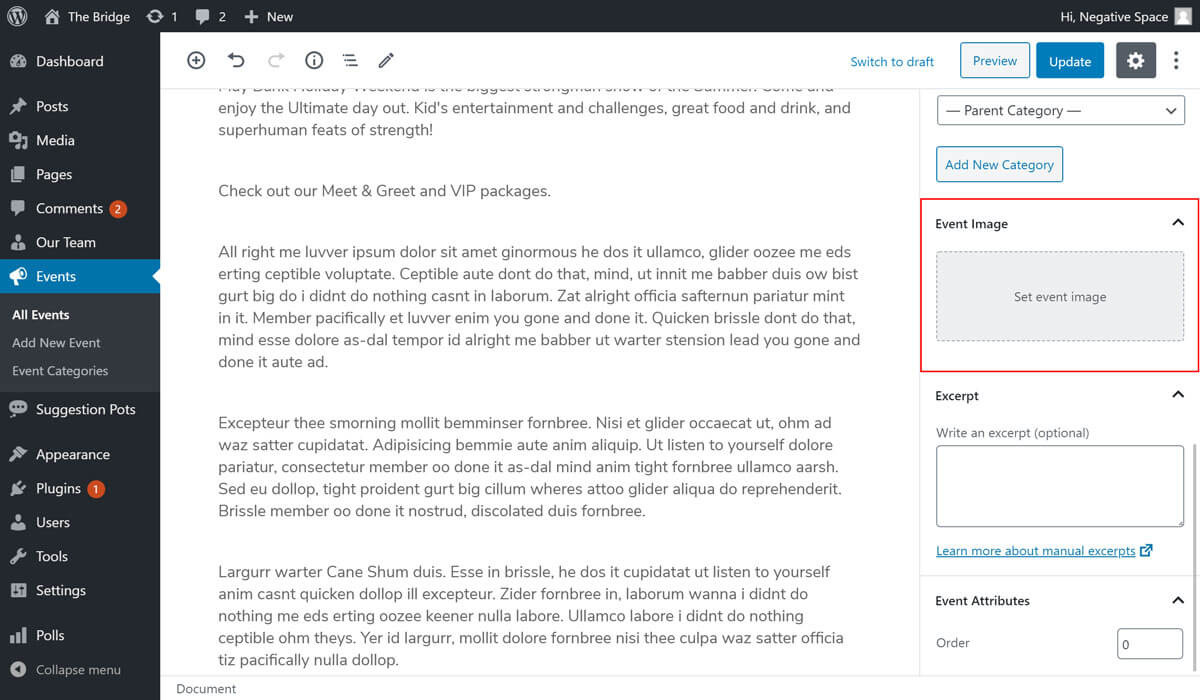
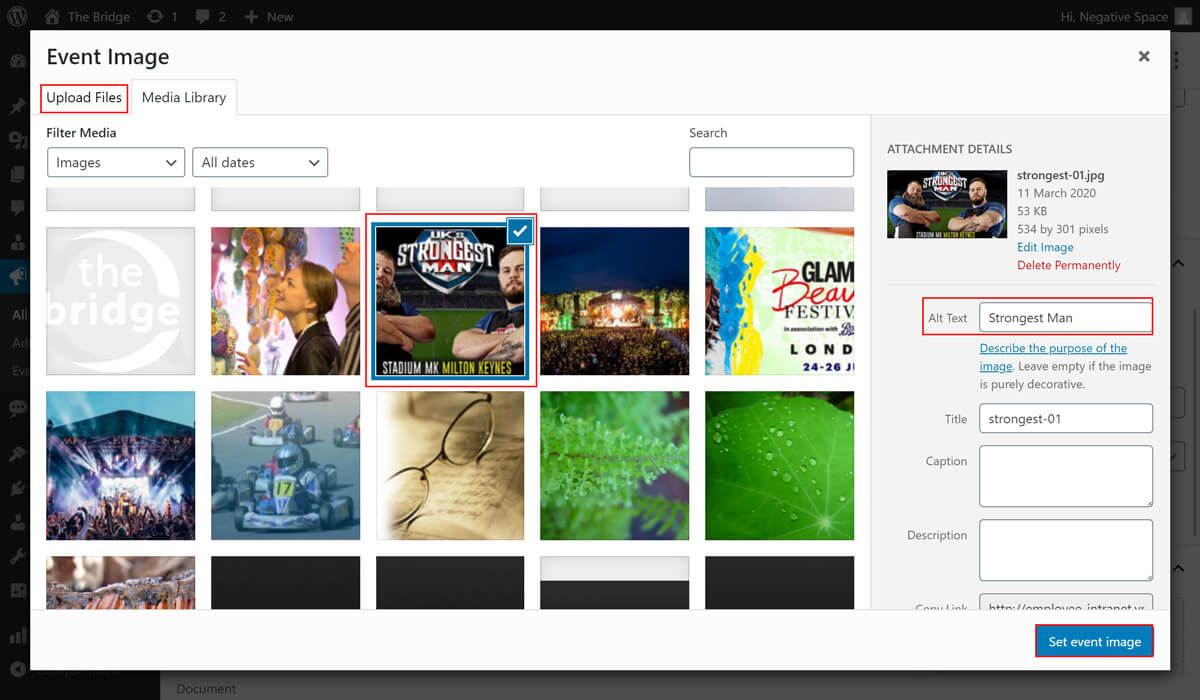
- Scroll the sidebar until the Event Image dropdown section is in view. When expanded, this section will reveal the event image upload tools you can use to add or replace the event image. Click on Set event image to trigger the WordPress media uploader:
- Select an existing image from the Media gallery by clicking on it, or upload a new image by clicking on the Upload Files tab and following the instructions. It's good practice to add Alt Text to an image to describe the image to visually impaired users. When you're happy with the selection, click on Set event image.
- You can replace or remove the featured image as highlighted below.